

Authentication
The Rydhm API authenticates every request with an API key. A key belongs to one workspace and carries scopes that decide which routes it can call.
What a key looks like
- The key id is 12 characters. It is not secret: lists, logs and the request log show it.
- The secret is shown once, when you create or rotate the key. Rydhm stores only a hash of it, so nobody can show it to you again.
- After creation, lists show the key as
rydhm_live_<key id>_…<last 4>.
The rydhm_live_ prefix makes a leaked key easy for secret scanners to spot. Treat a key like a password: keep it in your server’s environment or secret manager, never in frontend code or a public repository.
Send the key
Send the key as a Bearer token in the Authorization header:
The API also accepts the same key in an x-api-key header. Use one or the other, not both.
A request without a key, or with a key that doesn’t verify, gets 401. See Errors.
Create a key
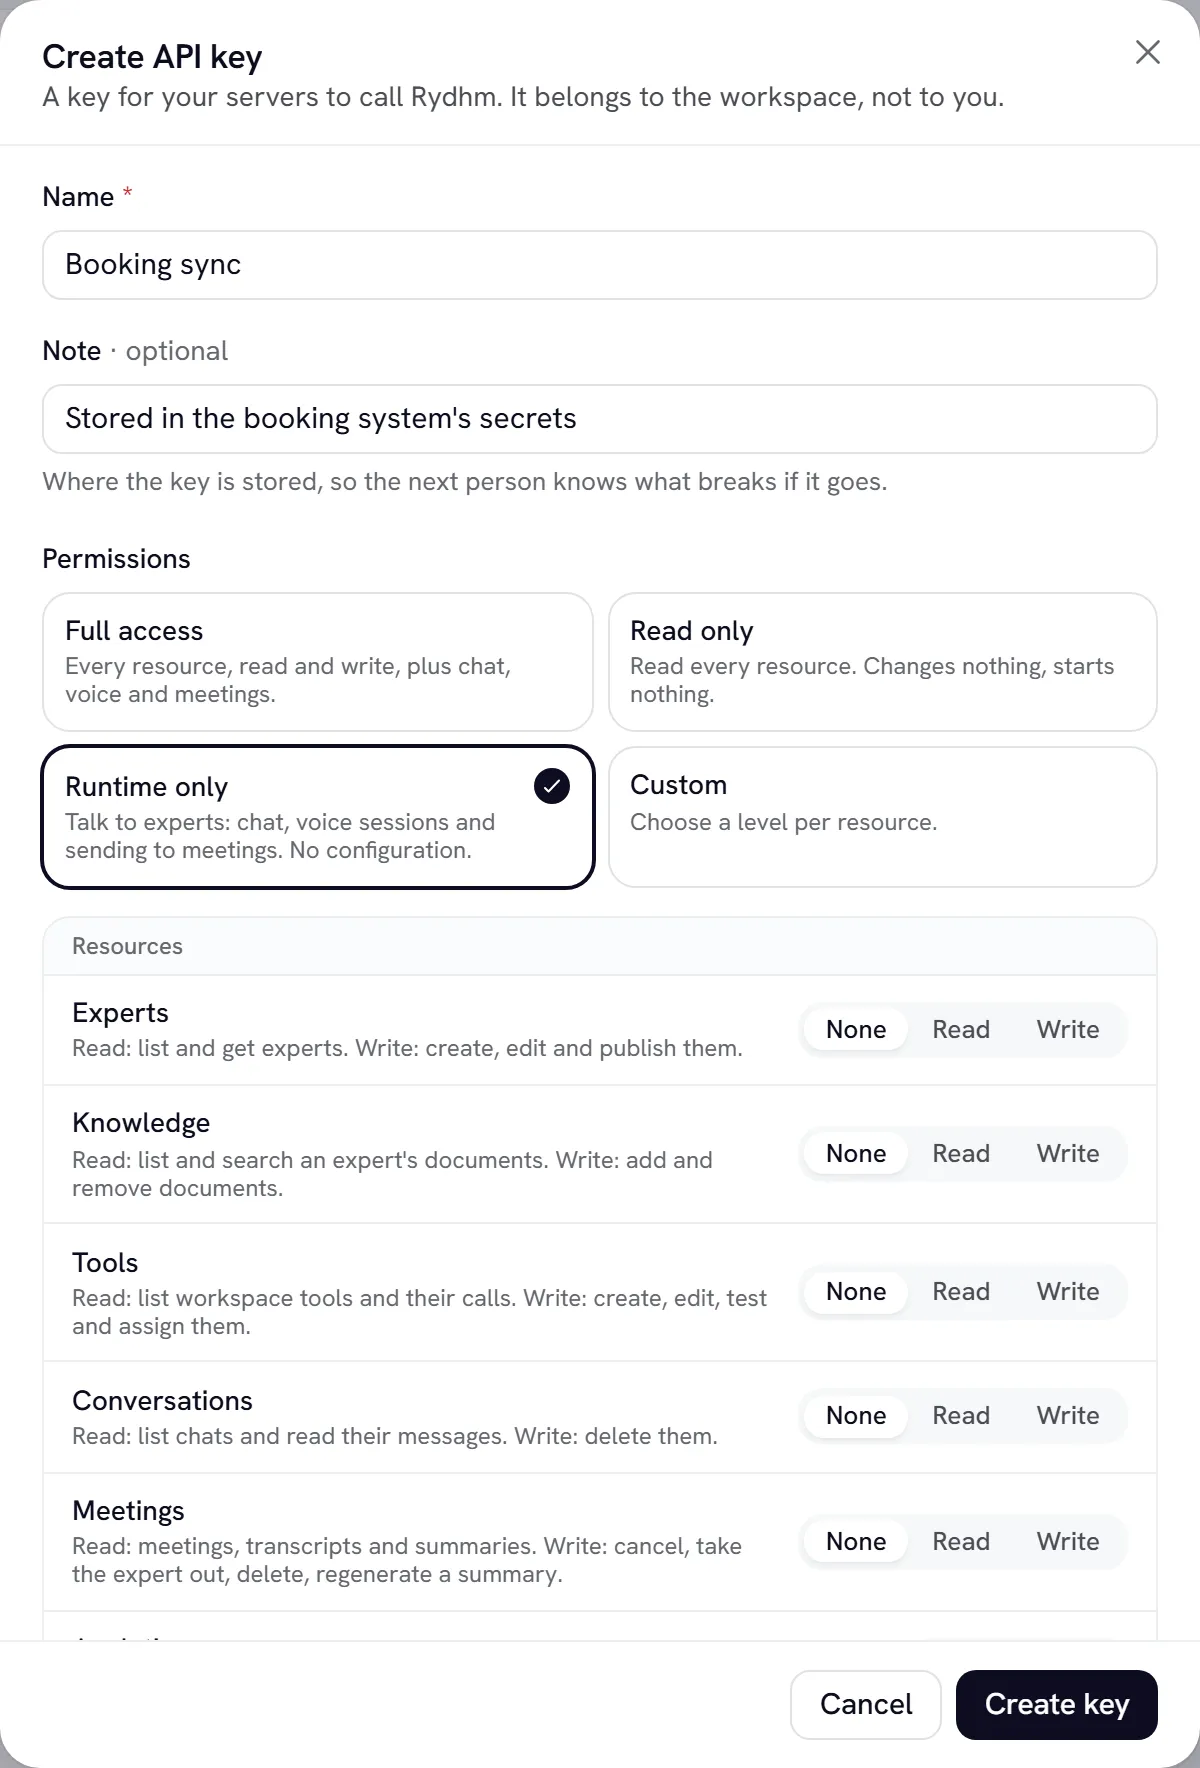
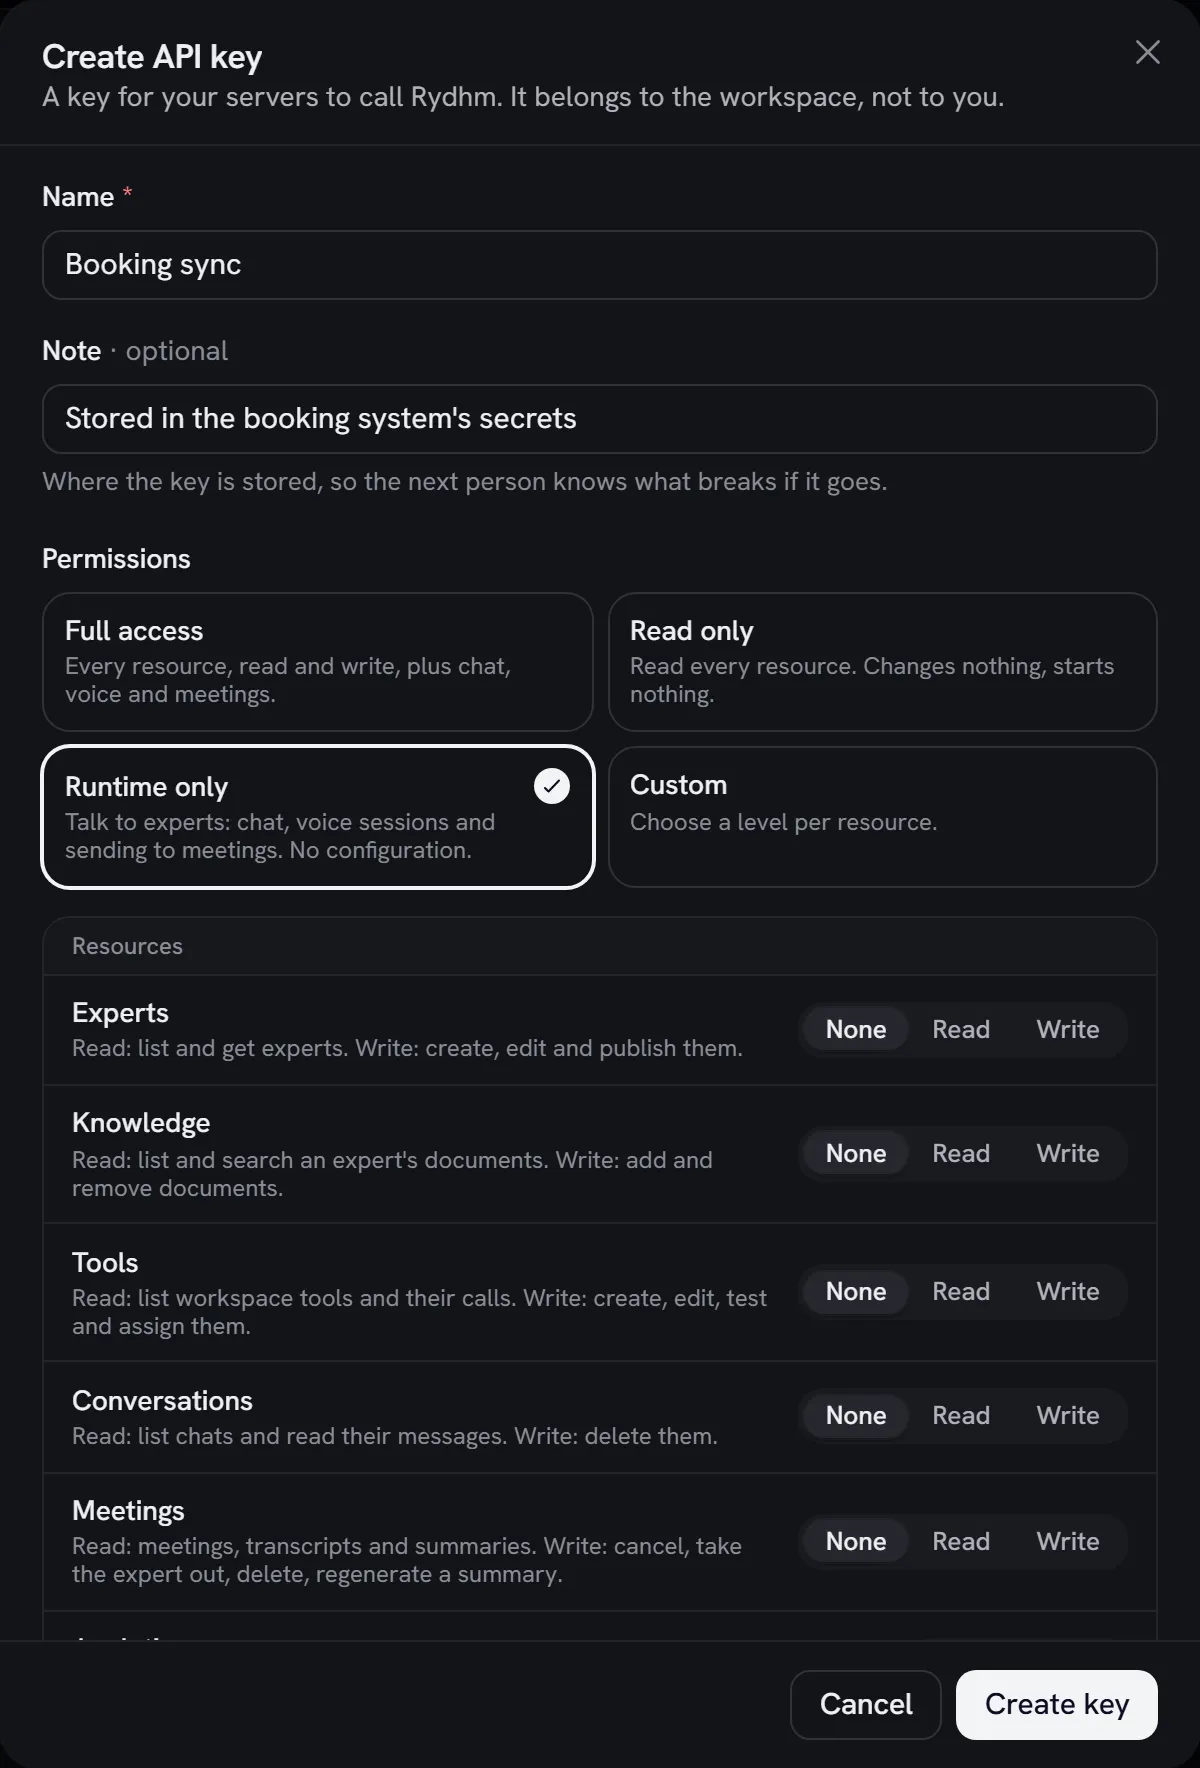
Only workspace admins can see the Developers section and manage keys. A key can never create, change or reveal other keys.
Name it
Give the key a Name, such as “Production server”. A Note is optional; use it to say where the key lives.
Choose permissions
Under Permissions, allow only what the integration needs. Nothing is allowed until you allow it, and write includes read. See Scopes.
Limit it (optional)
Under Experts, keep All experts or pick Only these. Under IP allowlist, add one address or CIDR range per line (IPv4 or IPv6), or leave it empty to allow any address.
Pick an expiry
Under Expires, choose Never, 7, 30, 90 or 180 days, or 1 year. Your workspace can require keys to expire or cap their lifetime, under Settings → API key rules. See Security.
Who the key acts as
Every key acts through a service account, a non-human member of the workspace. Conversations a key starts are recorded under it, with the channel api. Choose one under Acts as, or leave Default service account.
Manage service accounts under Developers → Service accounts. Disabling a service account disables all its keys; deleting it deletes them.
Workspace keys and expert-restricted keys
A key with All experts can reach every expert in the workspace, within its scopes.
Expert-restricted keys
A key limited to Only these experts is refused for every other expert, whatever its scopes:
- A call about another expert gets
403witherror: "expert_not_allowed". - Lists, such as
GET /v1/agentsandGET /v1/chat/conversations, return only the allowed experts’ items. - Routes that take an expert in the body, such as
POST /v1/chat/conversations, must name one withagentId. - It can’t create an expert, or create or change a shared knowledge collection, because neither belongs to one expert.
- It can read and change only its own experts’ documents, never a shared collection’s.
- Workspace-wide routes, such as tools and analytics, still work within its scopes.
Use restricted keys for anything that serves a single expert, such as a backend that chats with one support expert.
IP allowlist
A key with an IP allowlist refuses requests from other addresses with 403 and error: "ip_not_allowed". The message names the address the API saw.
Rotate a key
Rotate a key to replace its secret without changing its id, scopes or settings.
Only one old secret is kept. Rotating again during a grace period ends the older secret at once.
Disable or delete a key
- Disable (from the key’s Actions menu) pauses a key. Requests with it get
401anderror: "api_key_disabled"until you enable it again. - Delete… (from the same menu) revokes a key for good. Anything using it is refused from the next request, with
401anderror: "invalid_api_key". This can’t be undone.
Changes take effect on the next request.
An expired key gets 401 and error: "api_key_expired". Create a new key to replace it.
Your workspace can also switch off keys nobody has used for a while, under Settings → API key rules → Disable unused keys. A key switched off this way can be enabled again.
See what a key did
Developers → Request log lists the API requests made with your keys: the key, the request id and the outcome. It records metadata only (method, route, status, duration and error code), never request or response bodies. From a key’s Actions menu, View requests opens the log filtered to that key.
Keep keys safe
- Use one key per integration, so you can rotate or revoke one without touching the others.
- Give each key the fewest scopes and experts it needs.
- Set an expiry, and rotate keys on a schedule.
- Never send a key to a browser. For voice in your own frontend, mint a short-lived voice-session token on your server instead (
POST /v1/voice/sessions). - If a key leaks, delete it at once and create a new one.