

Members and roles
A workspace is shared by everyone in it. Each person has one of three roles: Owner, Admin or Member. You manage people on Settings → Members.
Roles
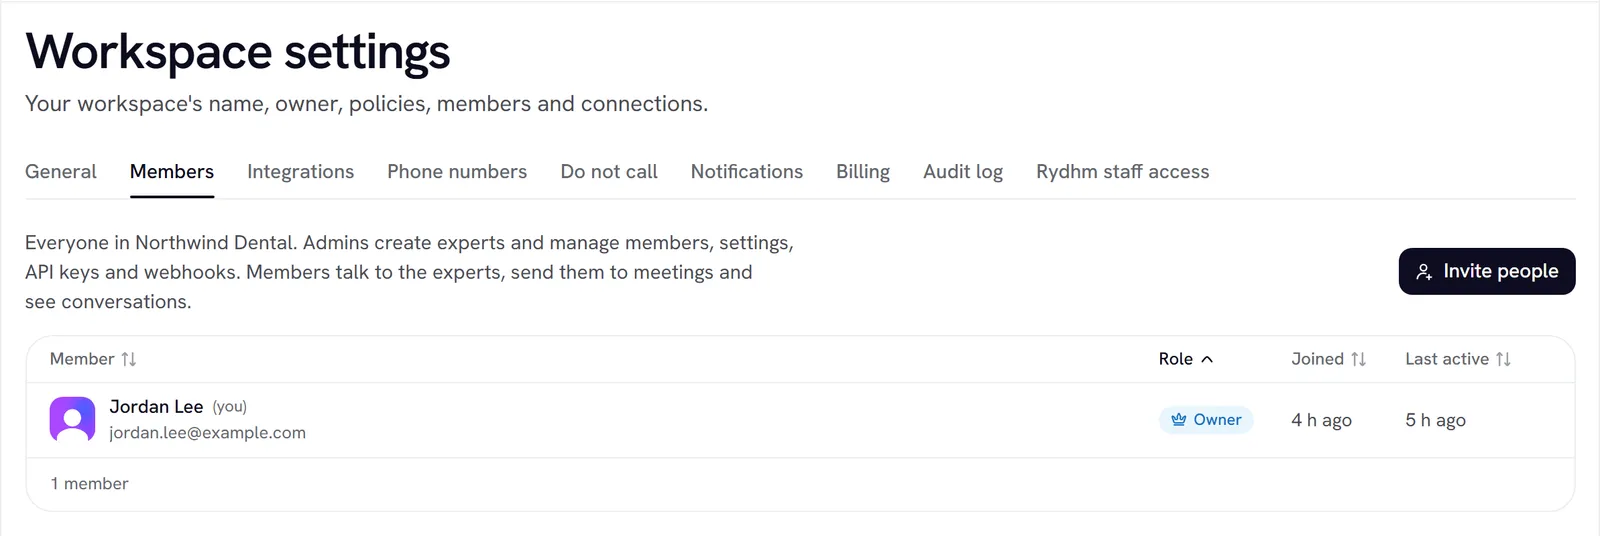
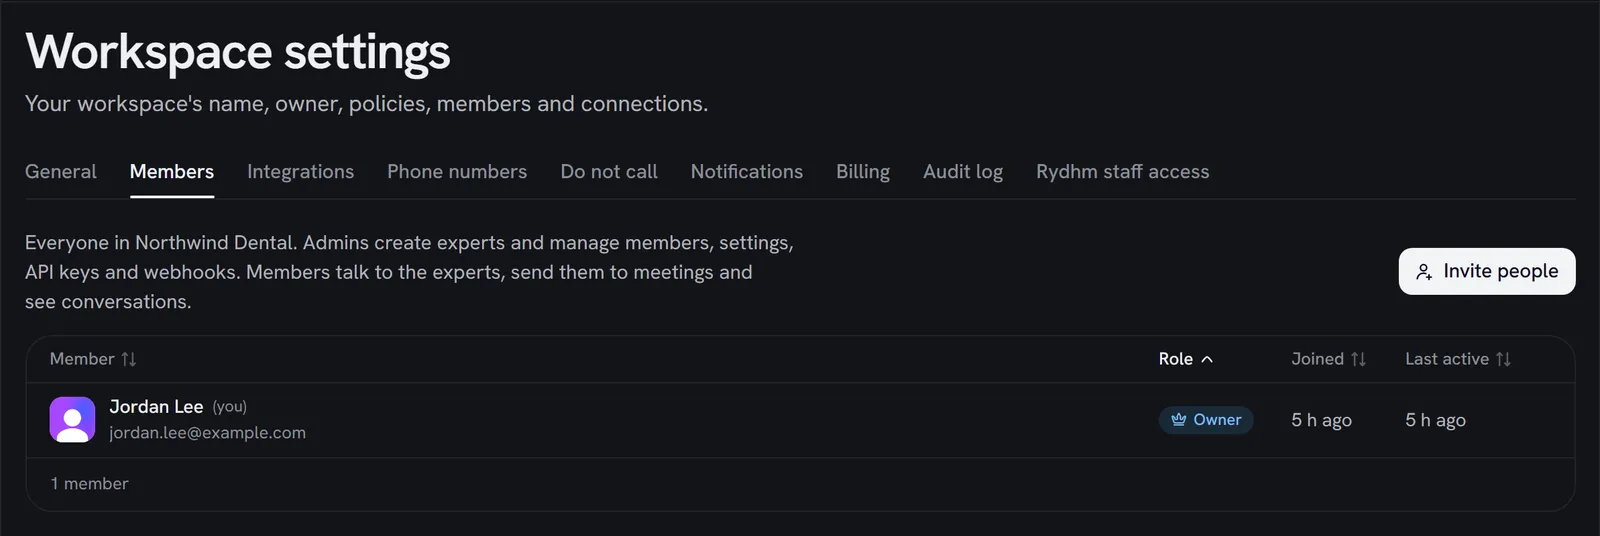
What each role can do
On an expert’s page, members see every tab except Profile as read-only, with a lock. Pages that are for admins only are hidden from members’ sidebar, not just disabled.
Invite people
Open the dialog
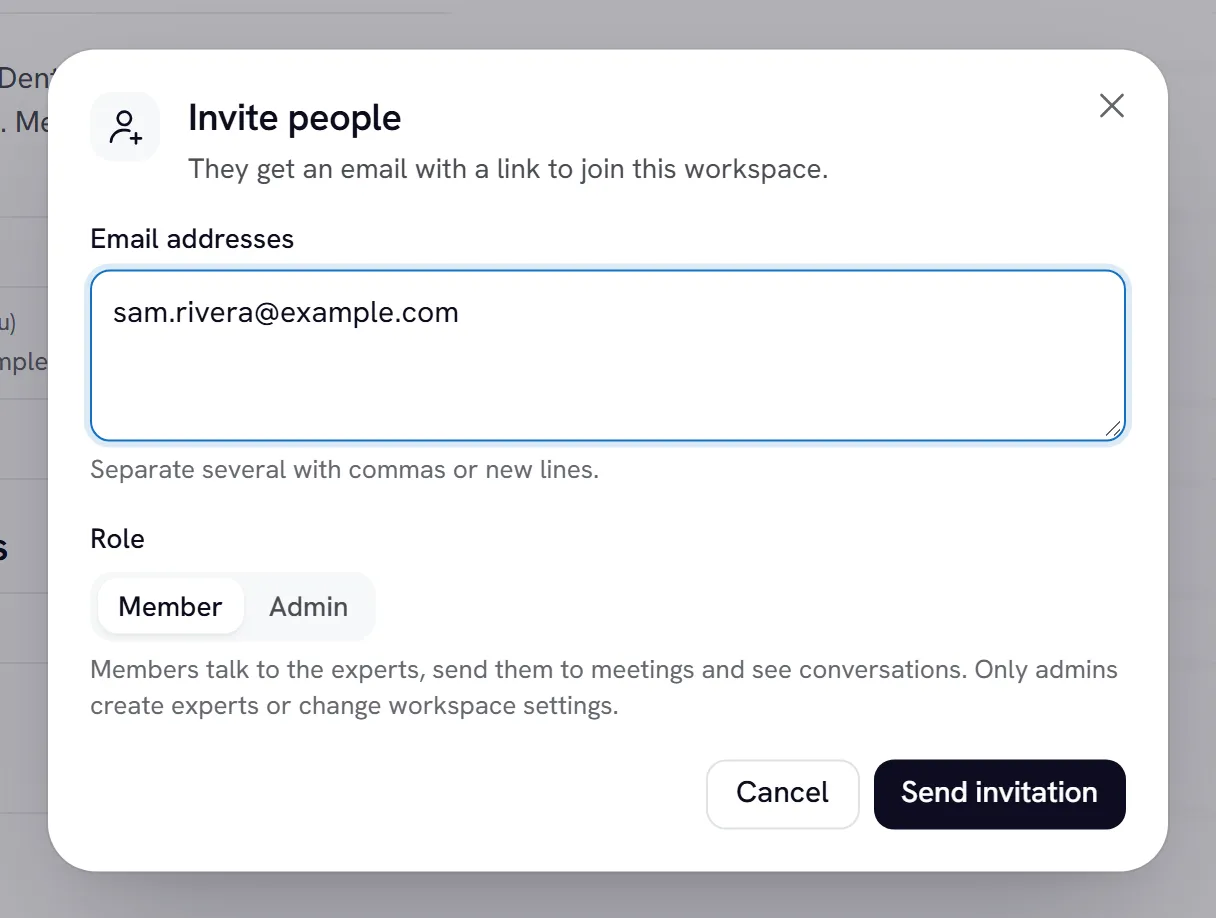
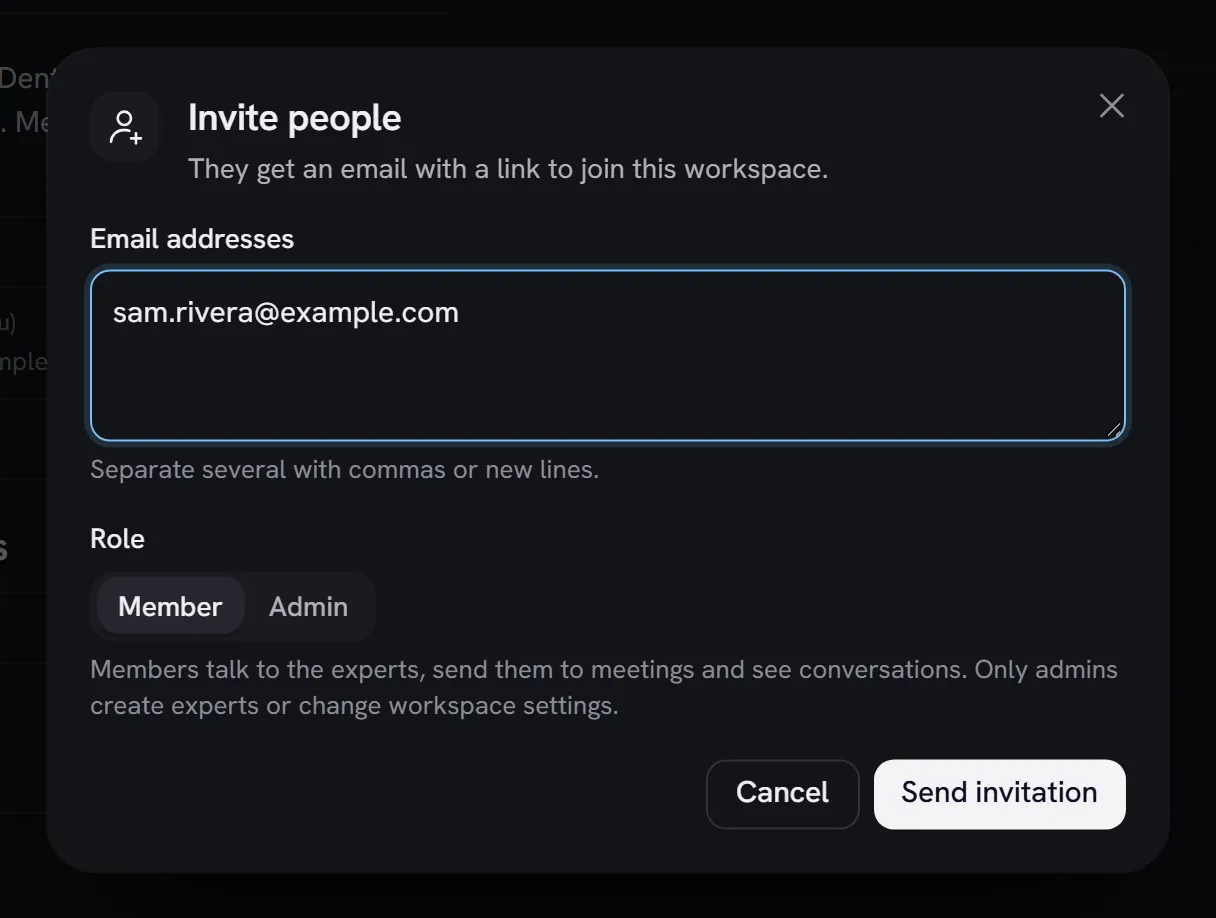
Go to Settings → Members and select Invite people. You can also use Send invitation on the card at the bottom of the sidebar.
Pending invitations are listed with their role, when they were Sent and when they Expire. From there you can resend one (Invitation sent again) or revoke it. A revoked link stops working, and you can invite the person again later.
Your plan sets how many people a workspace can have: 2 on Free, 5 on Starter, 15 on Growth, 50 on Scale, and no limit on Enterprise. People count once they’ve signed in; pending invitations don’t. When billing is active, invitations past the limit are refused. See Billing.
Change a role
In the Role column, choose Admin (“Manages the workspace”) or Member (“Builds and uses experts”). The change applies at once, and you’ll see Role changed.
The owner is always an admin. To make the owner a member, transfer ownership first.
Remove someone
Select the remove button on their row and confirm.
- They lose access to the workspace at once.
- Experts they built stay with the workspace.
- API keys keep working, because keys belong to the workspace, not to a person. Revoke any keys they shouldn’t keep in Developers → API keys.
You can invite them again later. The owner can’t be removed. Transfer ownership first.
Transfer ownership
The owner can hand the workspace to another member: go to Settings → General, select Transfer ownership on the Owner row, choose the New owner, and type the workspace name to confirm. The new owner must have signed in to Rydhm at least once, and becomes an admin if they aren’t one already. You stay in the workspace as an admin.
Your own account
Your name, picture, sign-in and appearance are personal. Open the account menu and choose Account settings. What reaches you by notification is also personal: see Alerts.